I recently wrote a tutorial on how to use Azure Custom Vision to train an ML model to predict Objects from images. I wanted to take this a step further and help speed up the Label step by using AWS SageMaker Ground Truth. (Note: if you haven't read that tutorial or don't have a solid understanding of machine learning, you should read that article first.)
Partly this came out of frustration of the lack of Apple Silicon support in VoTT. Figuring out how to use another tool to achieve this goal became a priority of mine, as to not rely on outdated and unsupported tools.
AWS SageMaker Ground Truth is a tool that allows you to easily label your data before training. It has a feature where you can pay for a team of contractors to label your data. This is incredibly useful if you have thousands of images to label and don't have the time to manually do it yourself.
For this tutorial I'm assuming you have already collected your labels that you want to have labeled.
First, you need to upload all of your images to an S3 bucket. I suggest putting them in a folder called input since that will be the input for your labeling. Then you can create a folder called output which will be used to store the label data from Ground Truth.
Side note: it is important that your S3 bucket is in the same region as SageMaker. (Although SageMaker might allow you to use different regions, the tool we will use to import into Custom Vision doesn't support that.)
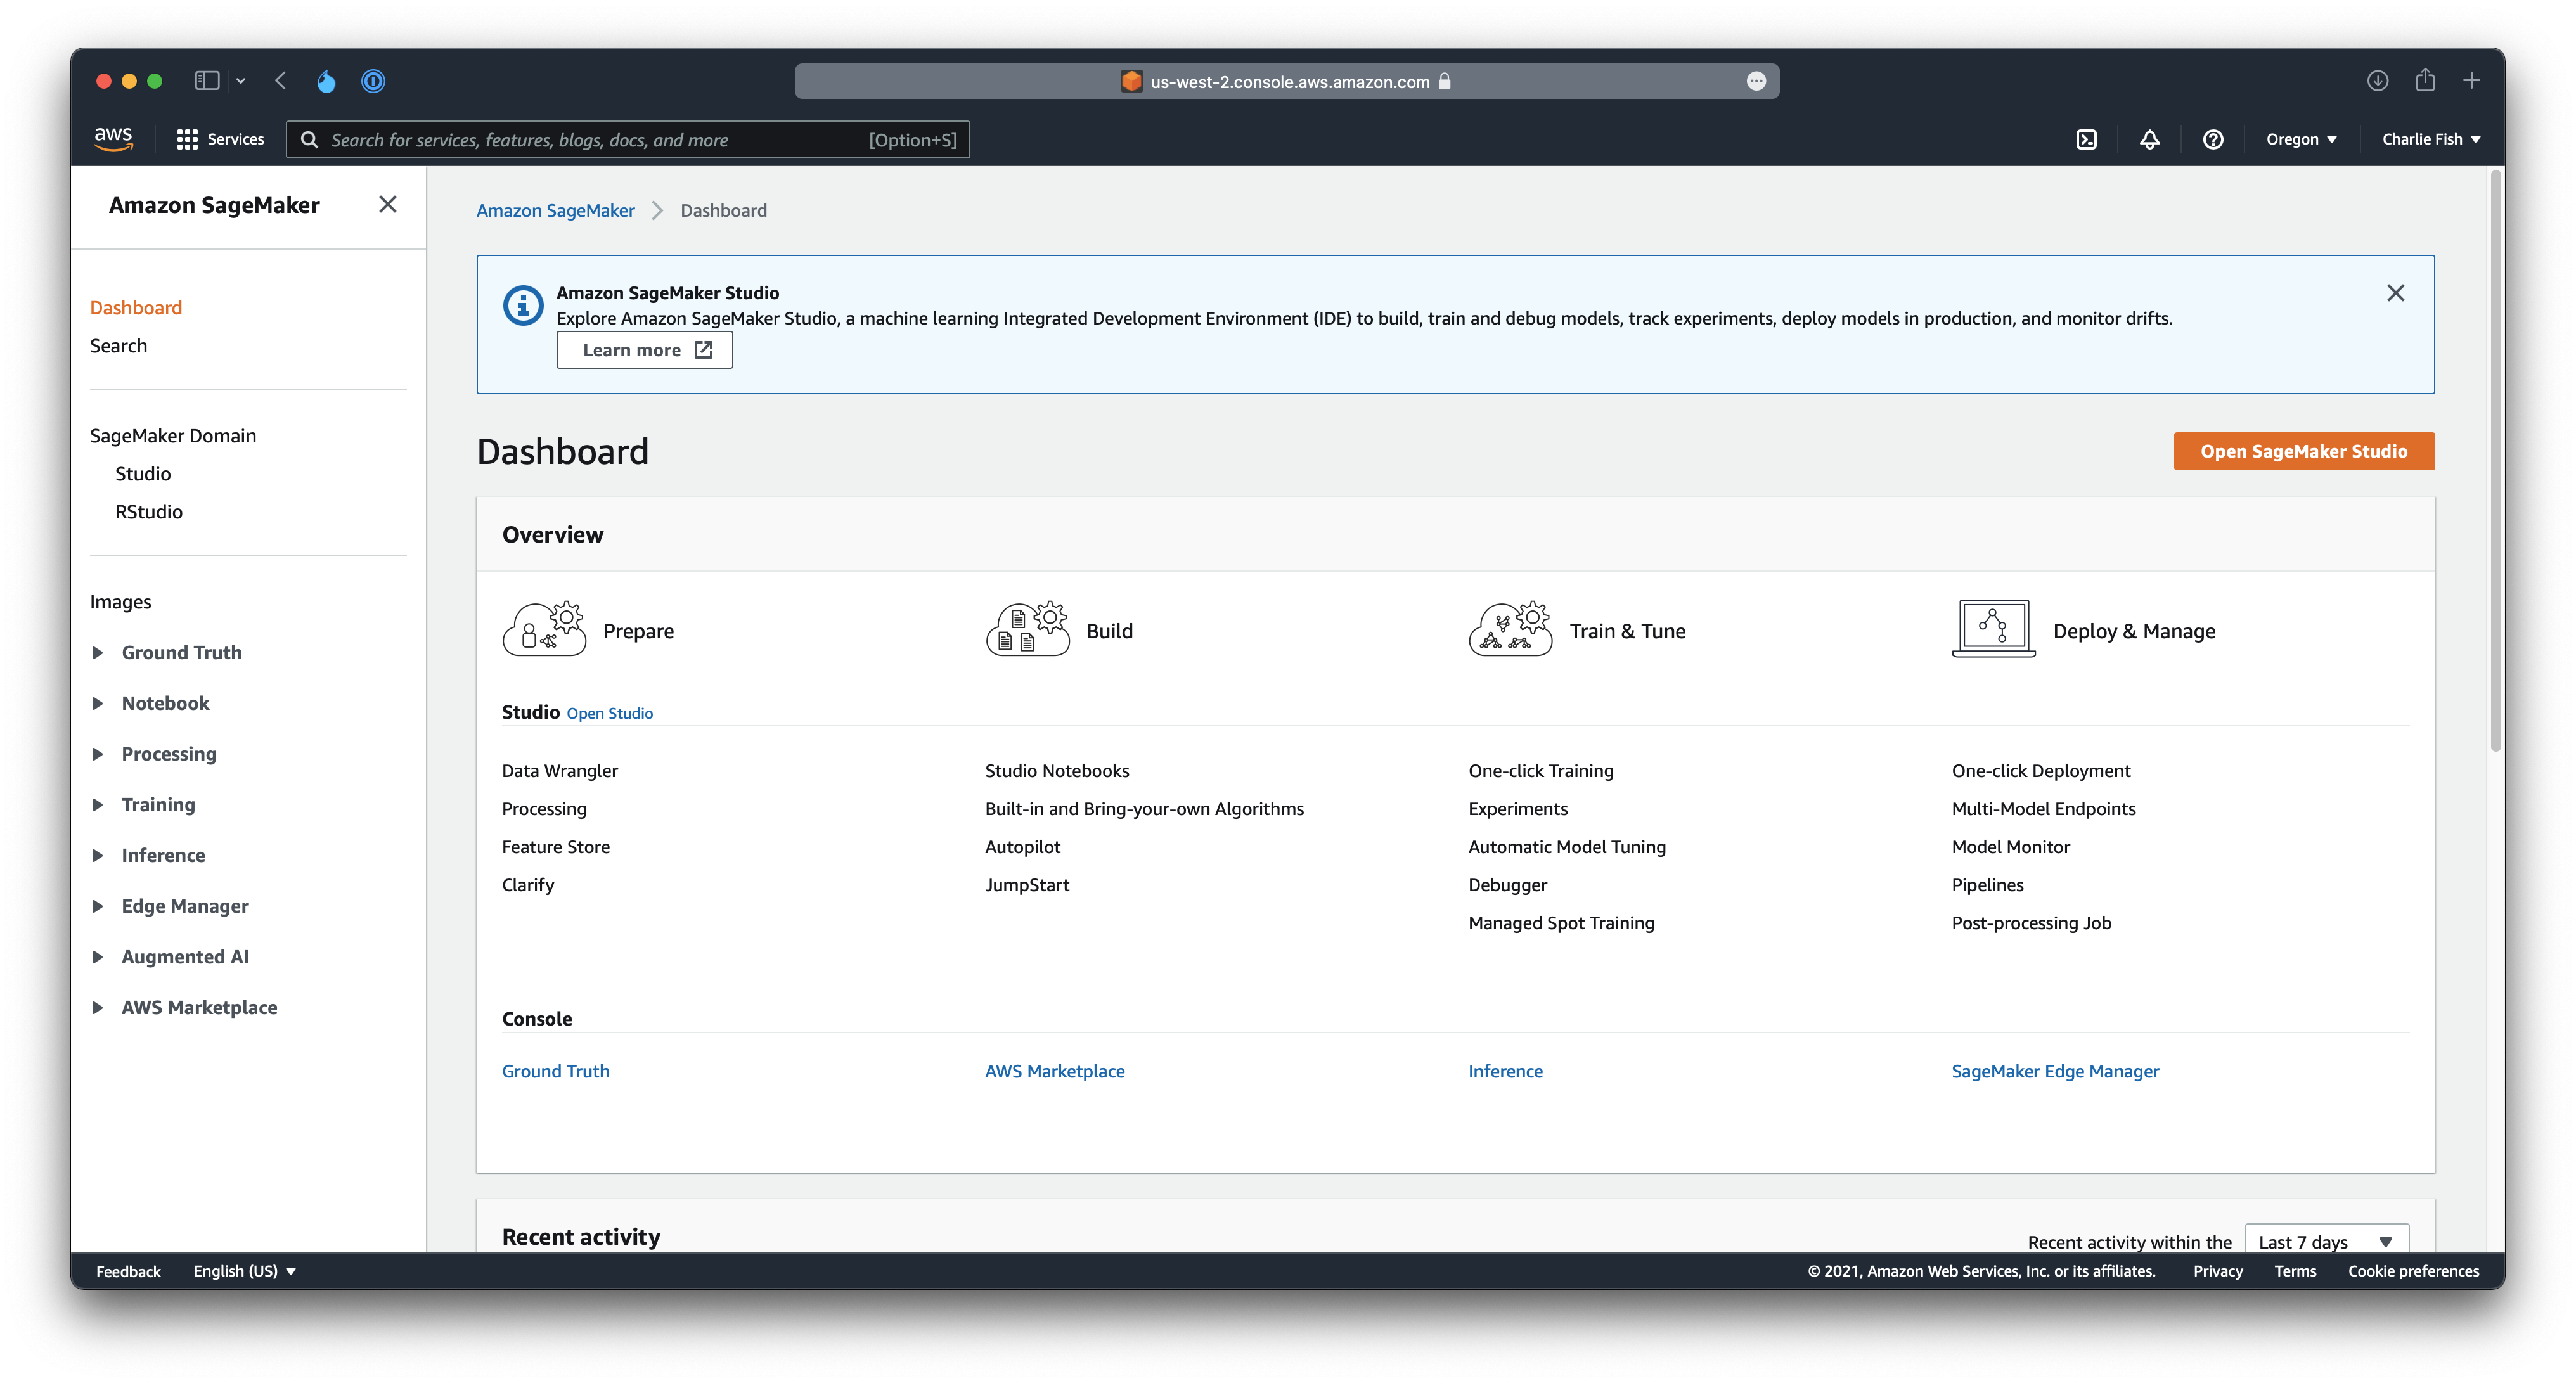
The next step is to open up your AWS account and open the SageMaker service.
Next, on the right panel select the Ground Truth dropdown and select Labeling jobs.
After that you can click on Create labeling job.

This will bring up a creation wizard to create your labeling job. Fill out the detailed listed below (everything else you can leave selected as default for now).
- Job name: This is the name of your labeling job.
- S3 location for input datasets: This is the S3 folder where you have your images stored. (this will likely be the
inputfolder we discussed earlier, ensure you use the fulls3://URI tho) - S3 location for output datasets: Specify a new location (set this to the
outputfolder you created earlier) - Data type: Image
- IAM Role: This is the IAM role that you created for your labeling job.
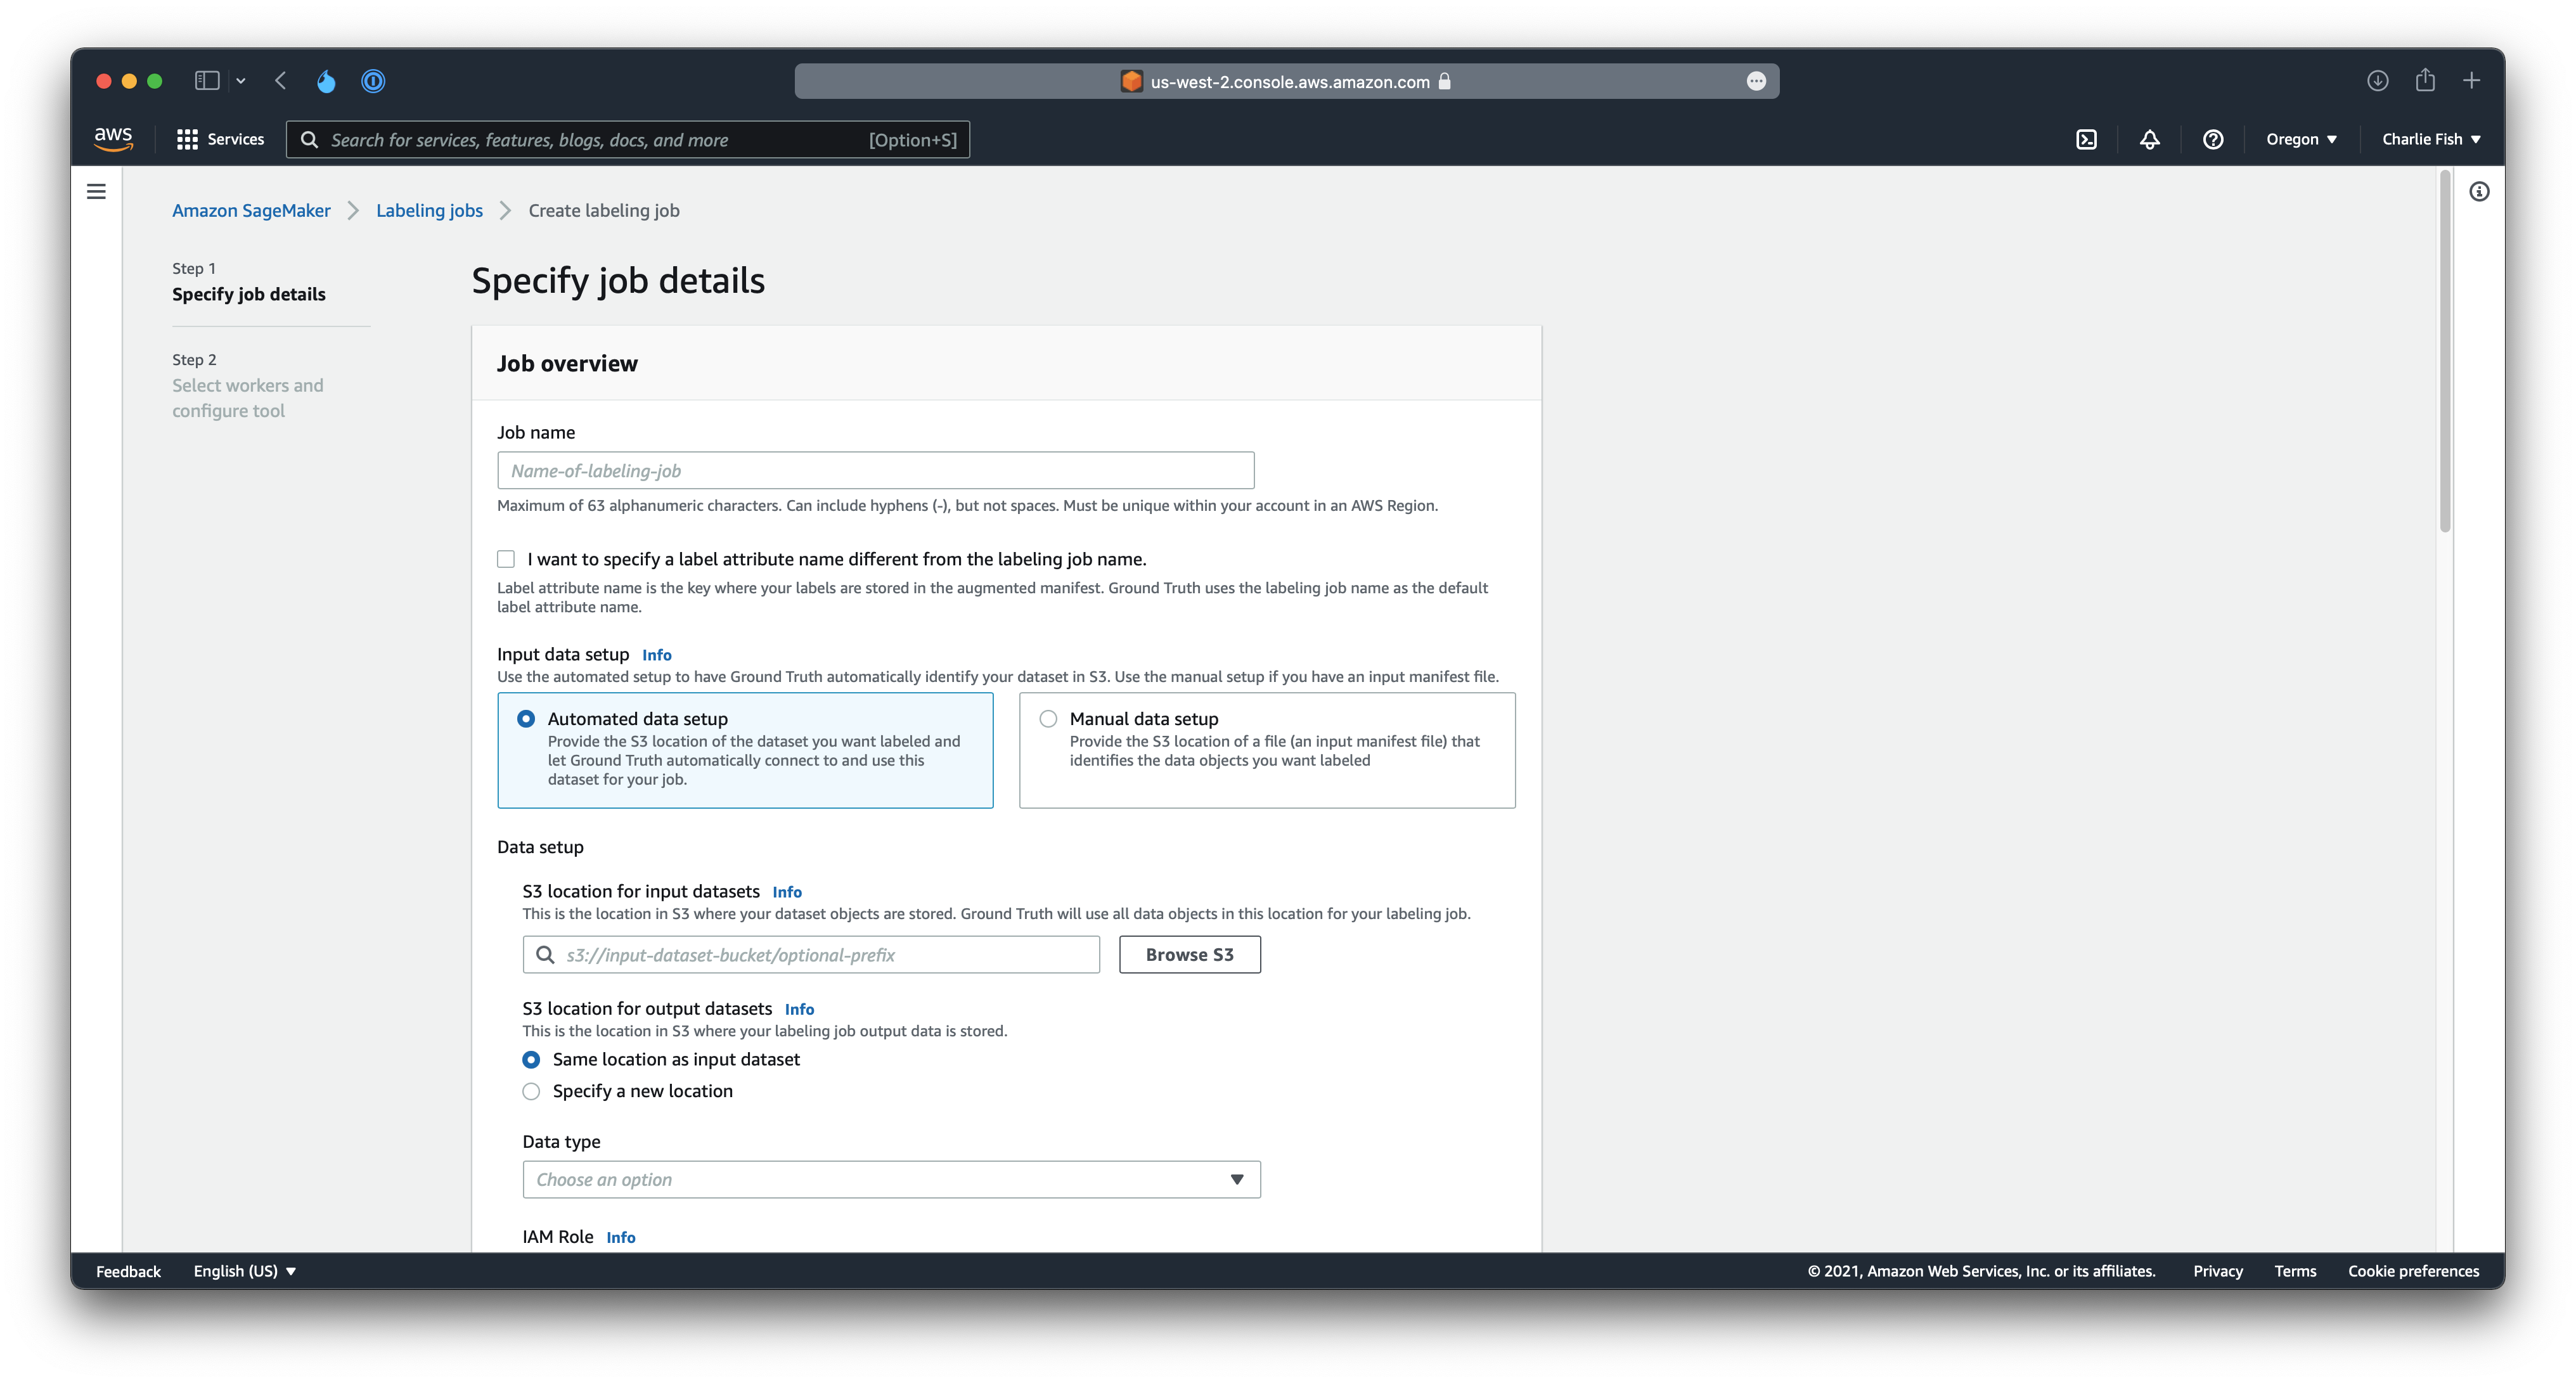
Next, click Complete data setup. This should take a little bit and shouldn't have any errors. If you have errors, check to ensure you only have images in your input folder, and ensure the IAM role has the correct permissions.
Next, you can select the Task selection. For this tutorial you can choose any of the following:
- Image Classification (Single Label)
- Image Classification (Multi-label)
- Bounding box
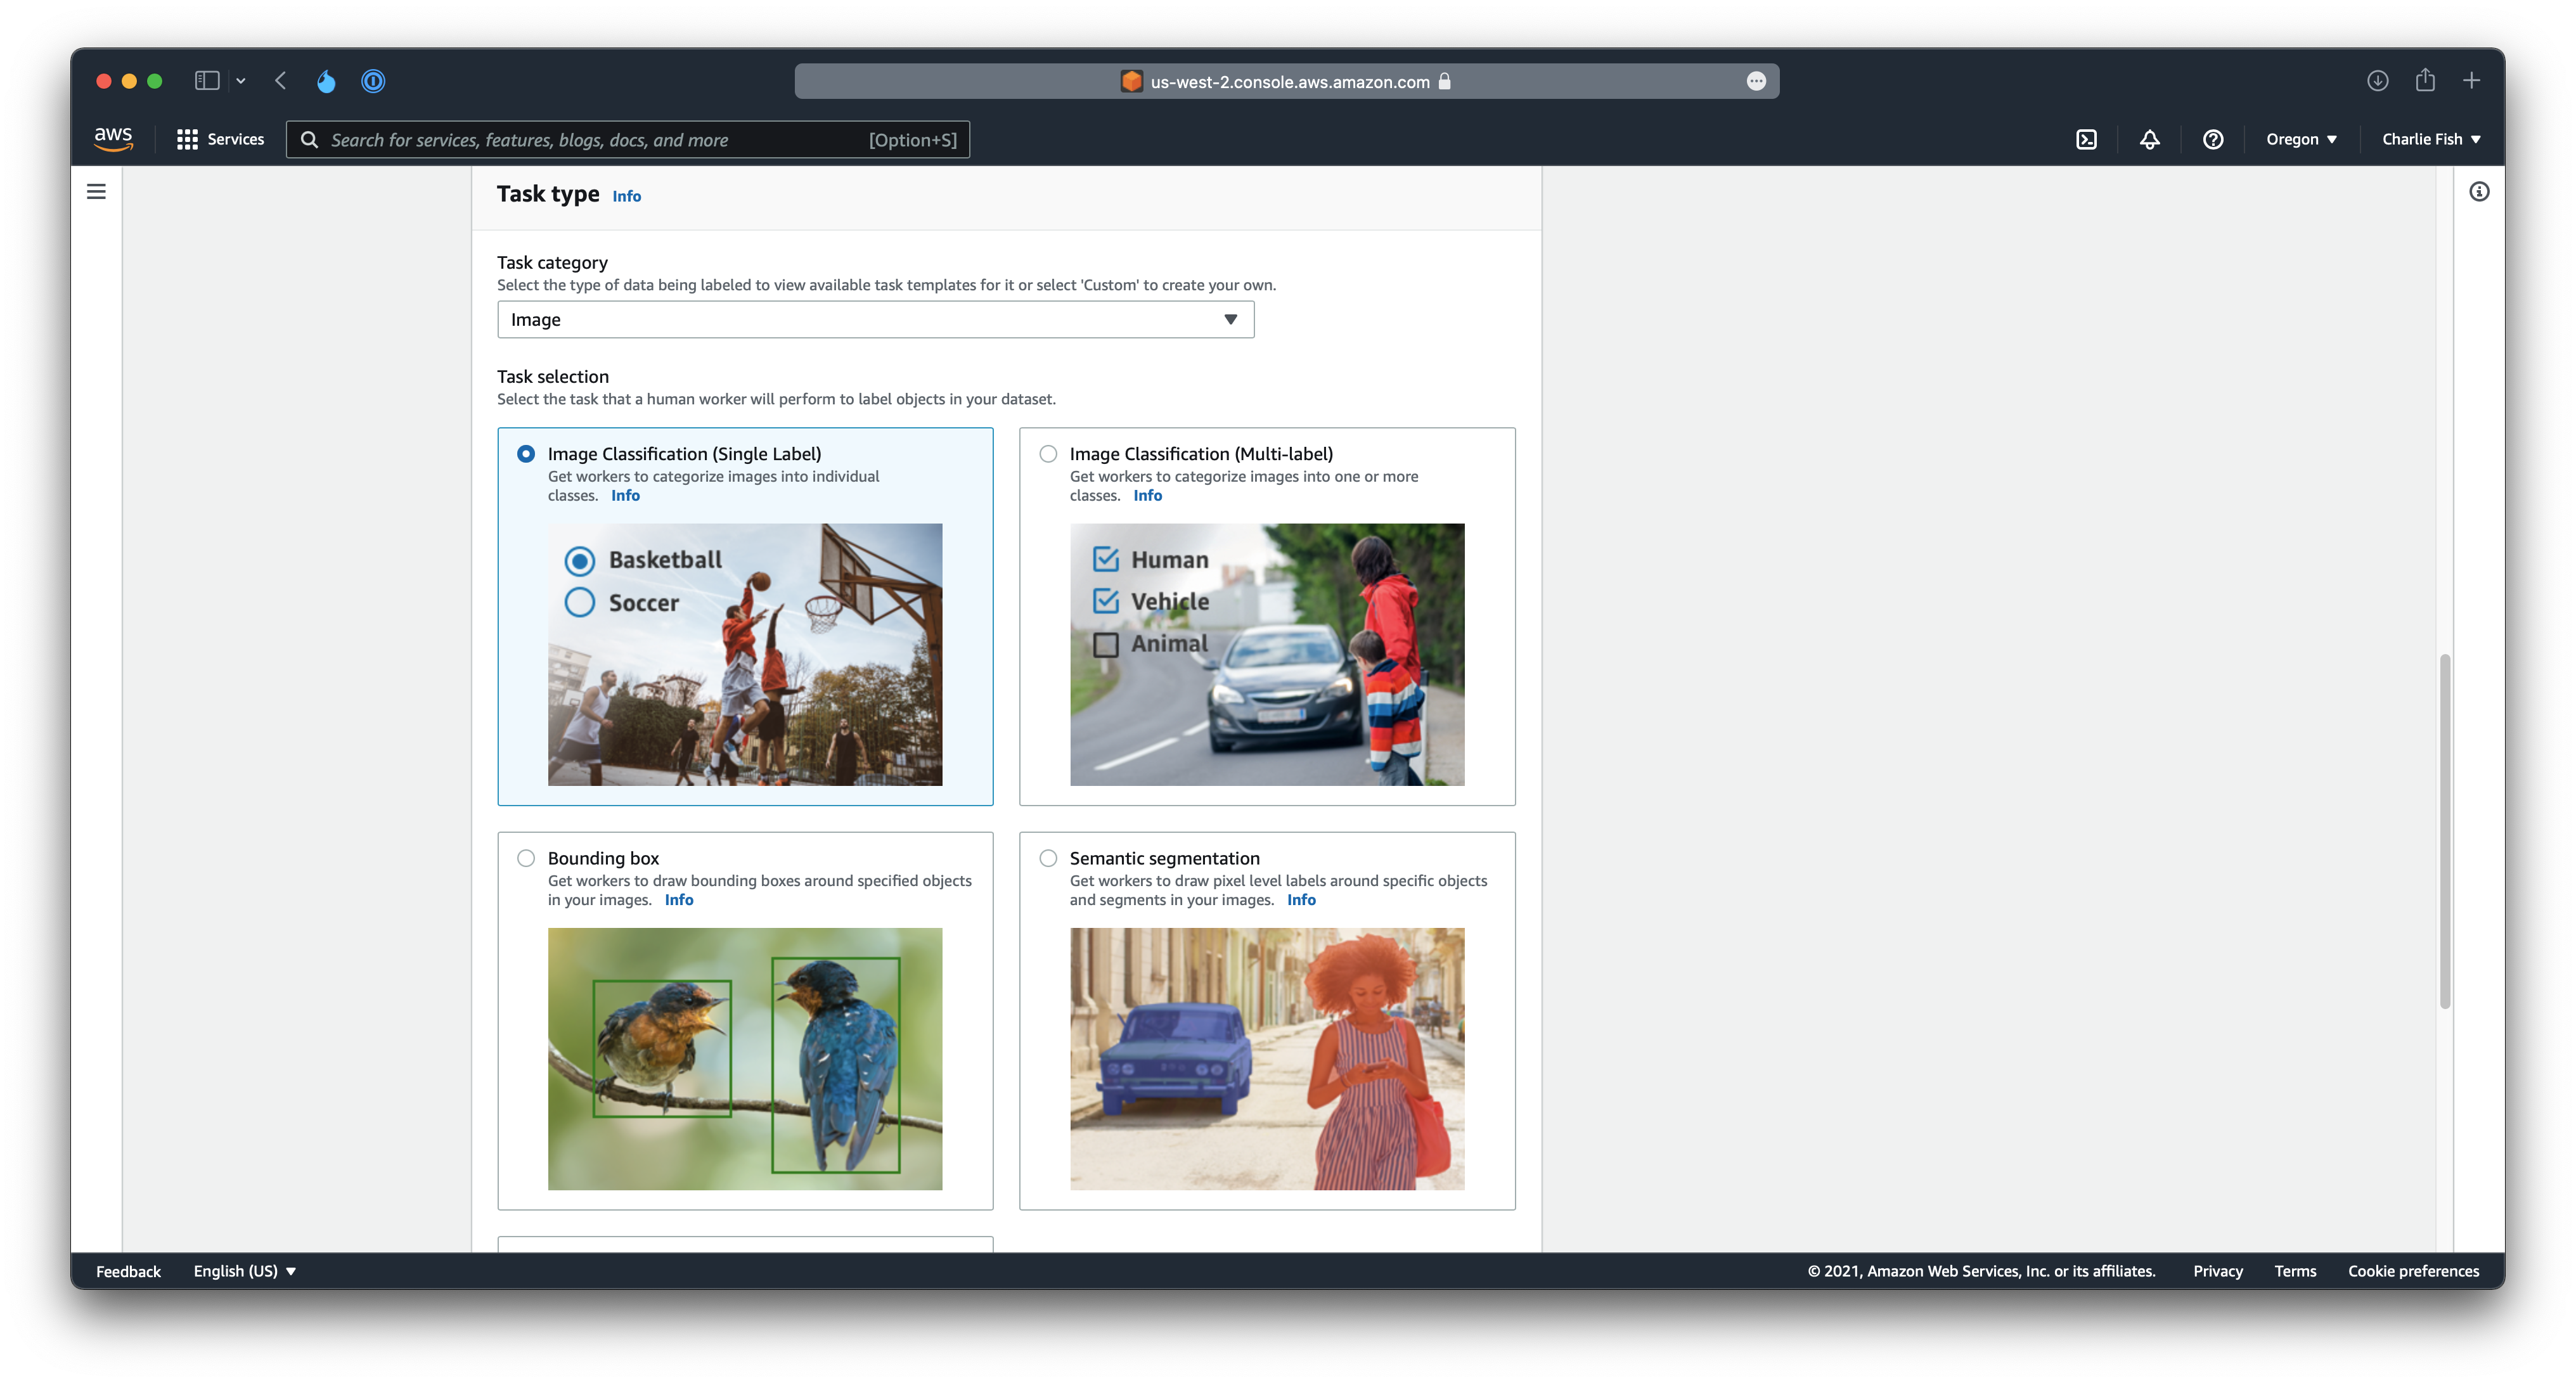
The other task selections are not supported by the tool we will use the import into Custom Vision.
You can choose at this point to add Tags to this job, but we will skip that for now.
Click Next.
This will bring you to a page about the labeling job details.
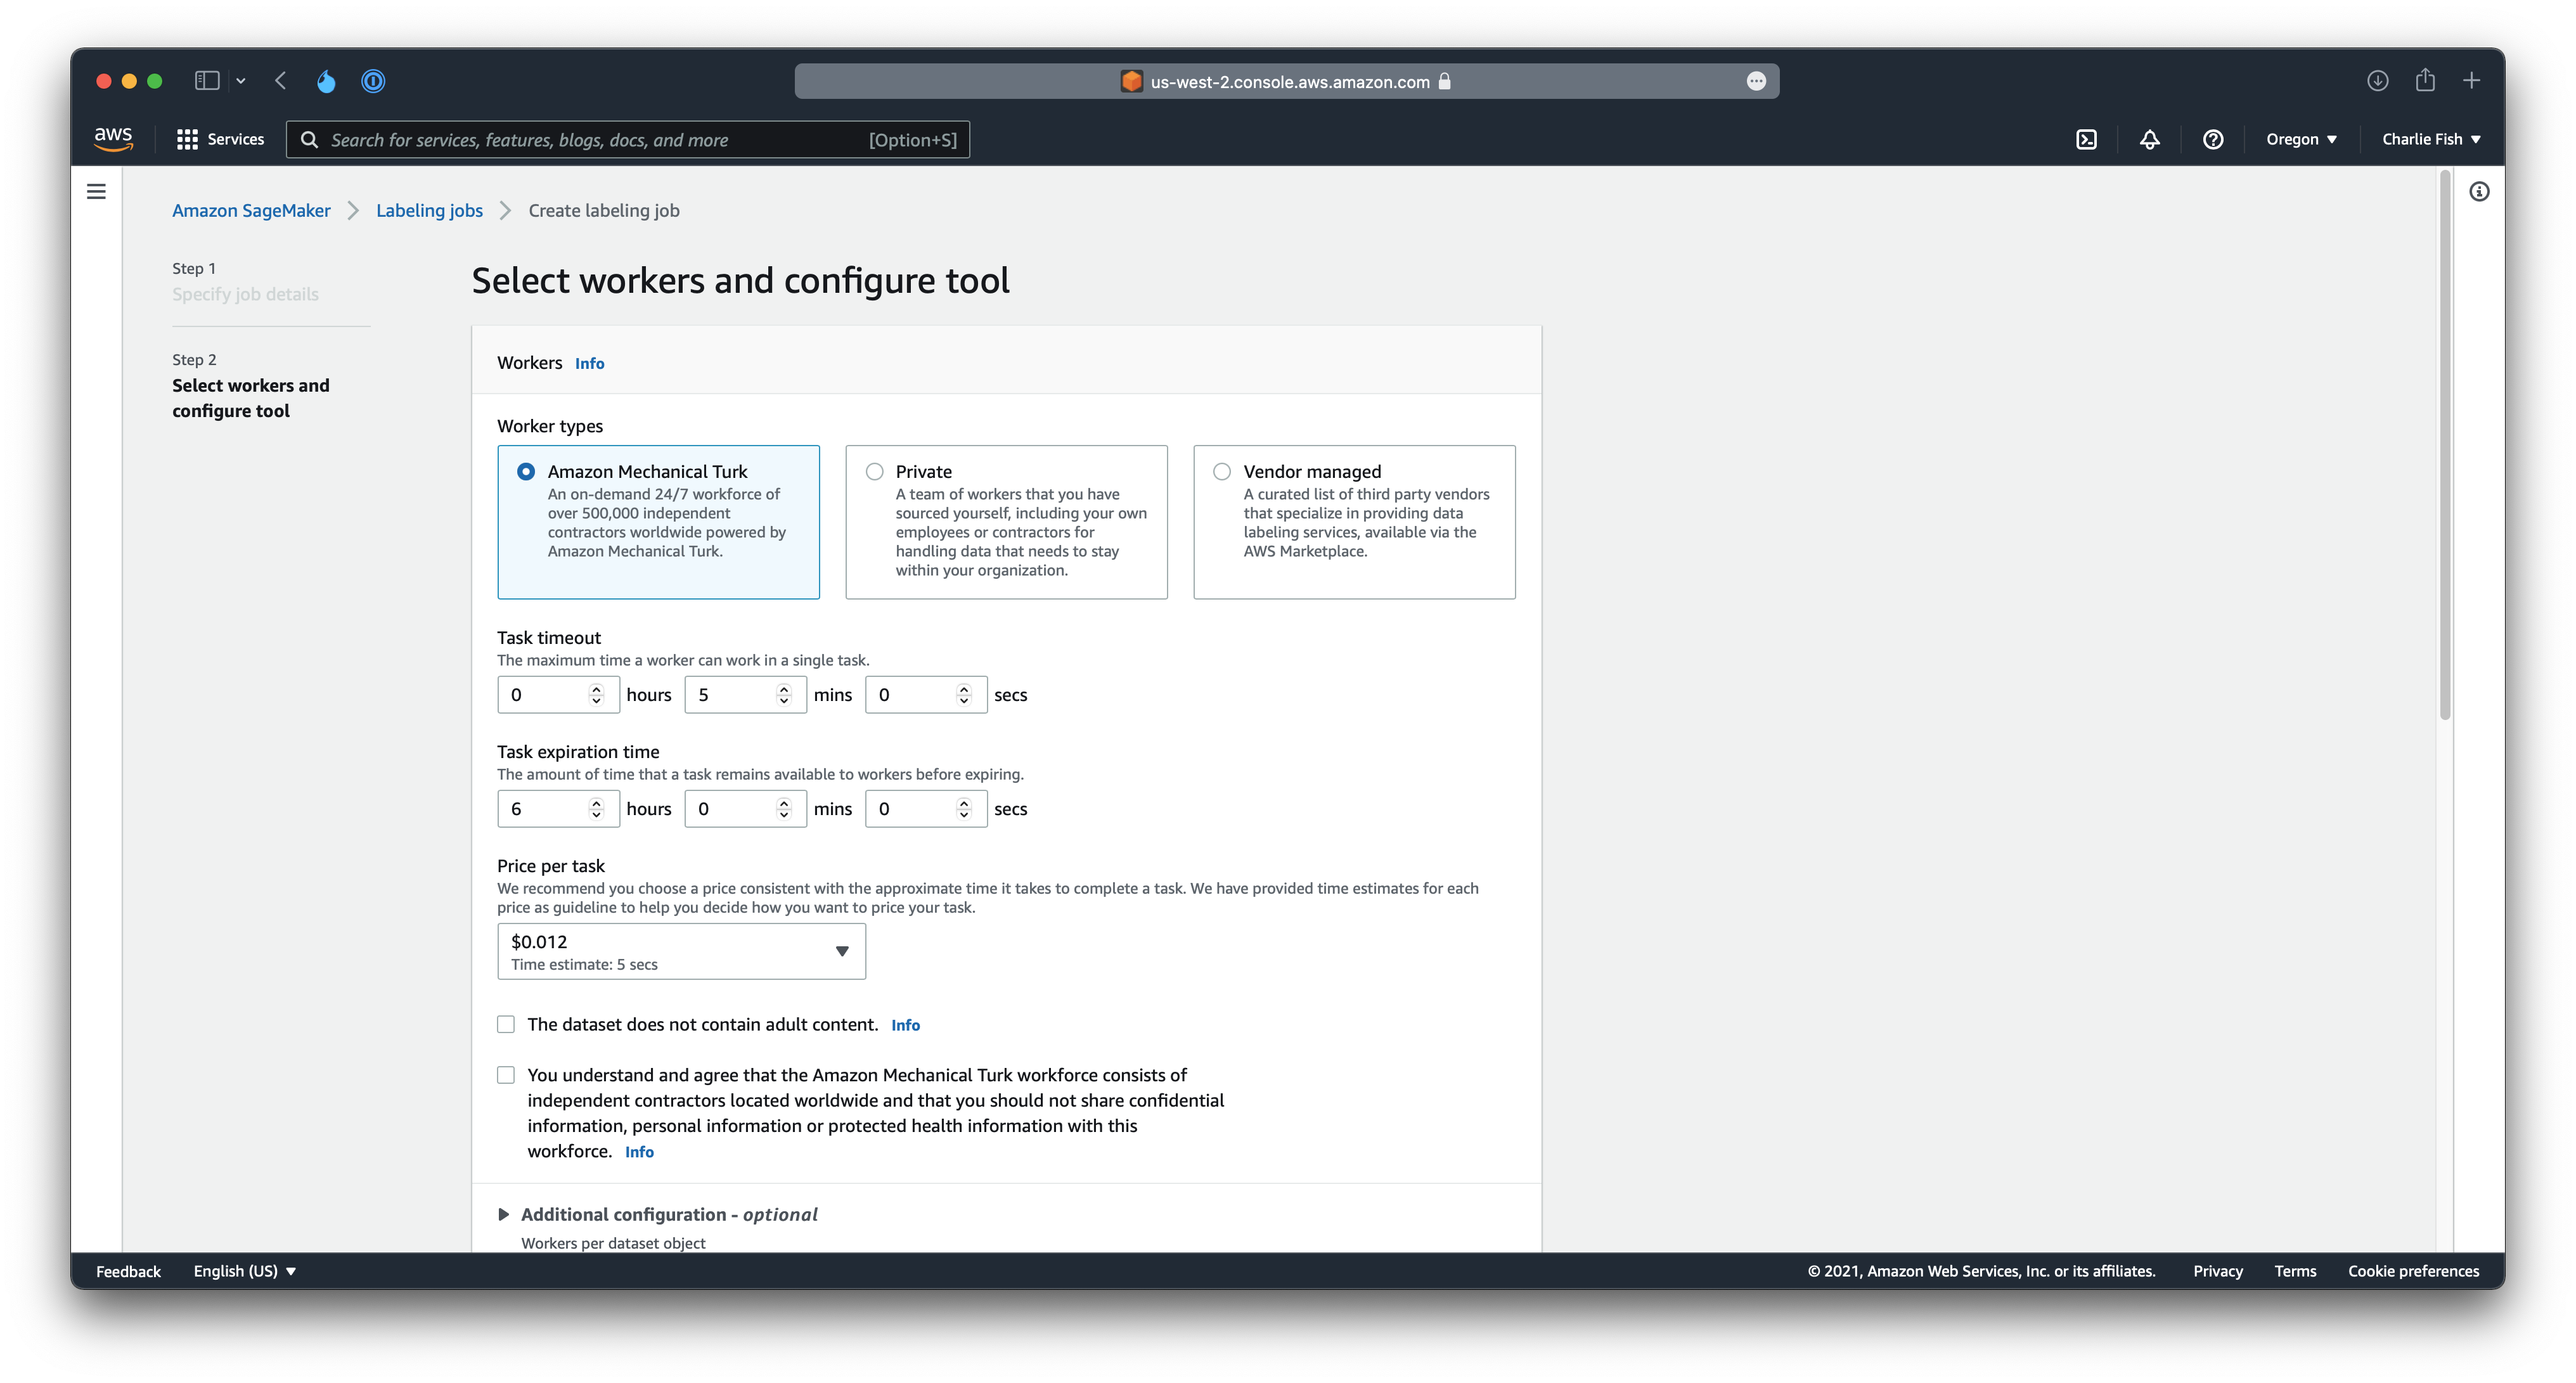
First you will select the Worker type. This is the group that will be used to label your data. For this tutorial we are going to stick with Amazon Mechanical Turk. If you have a team of your own labelers, you can choose Private. Or if you have a vendor, you can choose a Vendor managed labeling group. However, Amazon Mechanical Turk is an easy way to get started, although can be more expensive.
Next you will choose the following options.
- Task timeout: The amount of time a labeler can work on a single task.
- Task expiration time: The amount of time that a task remains available to workers before expiring.
- Price per task: The amount of money you are going to pay per task. This is broken into different sections with time frames on how long it should take for each task to complete.
Next, verify that you agree to the terms, and check if your content contains adult content (so that SageMaker can warn labelers before viewing the content).
Next, you can add your labels, as well as writing instructions to your labelers. AWS provides a link for guidelines for creating high-quality instructions so we won't be going into depth about that here.
Finally, click Create. This will kick off your labeling job, and put the status into In Progress. Wait a little bit for your task to complete.
Once your task status has changed to Complete, we are ready to import that data into Custom Vision.
For this we are going to use a npm CLI tool that I built:
aws-sagemaker-groundtruth-to-azure-customvision:
To install this you can run the following command in your Terminal:
npm i -g aws-sagemaker-groundtruth-to-azure-customvision
After you have completed that, ensure you are authenticated to your AWS account, and have permissions to getObject's from your S3 bucket, along with SageMaker listLabelingJobs permissions.
Then run aws-sagemaker-groundtruth-to-azure-customvision in your Terminal.
This will launch a wizard that will walk you through all the questions necessary to import your SageMaker Ground Truth data into Custom Vision.
After that, your data will be imported into Custom Vision and ready to go!
As always, pull requests and reporting issues are always welcome.